
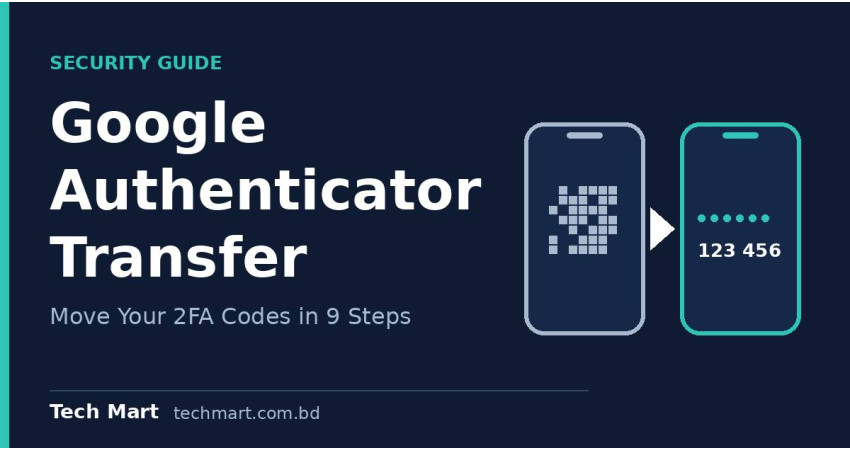
You bought a new phone, and now your two-step verification codes are still stuck on the old one. If you use Google Authenticator, those codes do not always move over on their own, and getting locked out of an account is a real risk.
The good news is that Google Authenticator has a built-in transfer feature. Here are 9 practical steps, ordered from easiest to hardest, to move your codes safely. Menu names can differ slightly between app versions and between iPhone and Android, so treat the labels below as a guide.
1. Keep your old phone until the transfer is finished
Do not wipe, sell, or uninstall anything on the old phone yet. The transfer needs both phones at the same time.
- Charge both phones.
- Connect them to a stable internet connection.
- Keep your old phone's screen lock (PIN, fingerprint, or face unlock) handy, because the app may ask for it.
If you delete the app too early, you may have to set up each account again from scratch.
2. Install and update Google Authenticator on the new phone
Download Google Authenticator from the App Store (iPhone) or Google Play Store (Android). Update the app on the old phone too, so both versions are recent and the menus match.
Open the app on the new phone, but do not add any accounts manually yet.
3. Check if Google Account sync is already on
Google's help page says that if you are signed in to your Google Account inside Google Authenticator, your codes are backed up and can be restored on a new device. If you already use this, signing in on the new phone may be all you need.
Sync is optional, and some people prefer not to use it. If you do not sign in, use the manual transfer in the next steps. Either way, check that the codes appear correctly before you continue.
4. Start the export on the old phone
On the old phone, open Google Authenticator and open the menu. The path is usually:
Menu → Transfer accounts → Export accounts
On some Android versions, the wording may be "Transfer codes" and "Export codes". The app may ask you to confirm your identity with your fingerprint, face, or phone PIN.
5. Choose which accounts to move
The app shows a list of your accounts. Select the ones you want to transfer, and unselect any you do not need on the new phone.
Tap the button to continue. The old phone will then show a QR code (a square barcode that another phone can scan). This QR code contains the secrets behind your login codes, so do not take a screenshot and do not share it with anyone.
6. Import the accounts on the new phone
On the new phone, open Google Authenticator and look for Import existing accounts? on the start screen. If you have already passed that screen, check the app menu for Transfer accounts and choose the import option.
Then tap Scan QR code and point the camera at the QR code on the old phone. When it works, the app shows a confirmation that your accounts were transferred.
7. Handle more than one QR code
If you transfer many accounts, the old phone may create more than one QR code. Scan the first one, then continue on the old phone to show the next one, and scan again until all are done.
If the export fails, Google suggests trying again with fewer accounts. Move them in two or three smaller groups instead of all at once.
8. Check the codes, then clean up the old phone
Open the same account on both phones and compare the 6-digit codes. They should match (they refresh every short interval, so compare them at the same moment). Then log in to one or two important accounts using the new phone to confirm it works.
After the transfer, the old phone may ask whether to remove or keep the exported accounts. Only remove them once you are sure everything works on the new phone. If a code looks wrong, the app has a time correction option in its settings (the exact menu name may vary), so try that first.
9. If the old phone is lost, broken, or the transfer fails
Without the old phone, you cannot use the transfer feature. In that case, you have to recover each account separately, and the steps are different for every website or app.
- Look for the backup codes you may have saved when you first turned on two-step verification.
- Search the official help page of each service for "lost authenticator" or "reset two-step verification".
- Once you get back in, add the account to the new phone again from that service's security settings.
Account recovery can take time and may need identity checks, so do not delay this part. We cannot give exact recovery steps here, because they depend on each service.
Final Thoughts
Moving Google Authenticator to a new phone is quick when you still have the old one. Export from the old phone, scan the QR code(s) on the new phone, and check that the codes match before you remove anything. Take extra care with the QR code, since it works like a key to your accounts.
Before you retire your old phone, also save backup codes for your most important accounts. It takes a few minutes and can save you a lot of trouble later.
Planning to upgrade your phone? Browse the latest options at Tech Mart and find one that fits your budget.
There are no comments for this Article.